lördag 7 augusti 2021

My first refurbished bicycle!

A couple of years ago I got this idea, to take a bicycle and exchange various parts, and sort of design a new bike. I did not seek out a bike to refurb and it did not come to me, so the idea sort of drifted away but lingered on in the back of my head.

Last year two colleagues of mine bought each a new bicycle, they were very enthusiastic or at least one of them were! The bikes arrived and they assembled them and...well, perhaps it was difficult for the result to keep up with the hype! One of the guys said flat out that he was not a fan of it. But when I looked at the bike I saw potential!

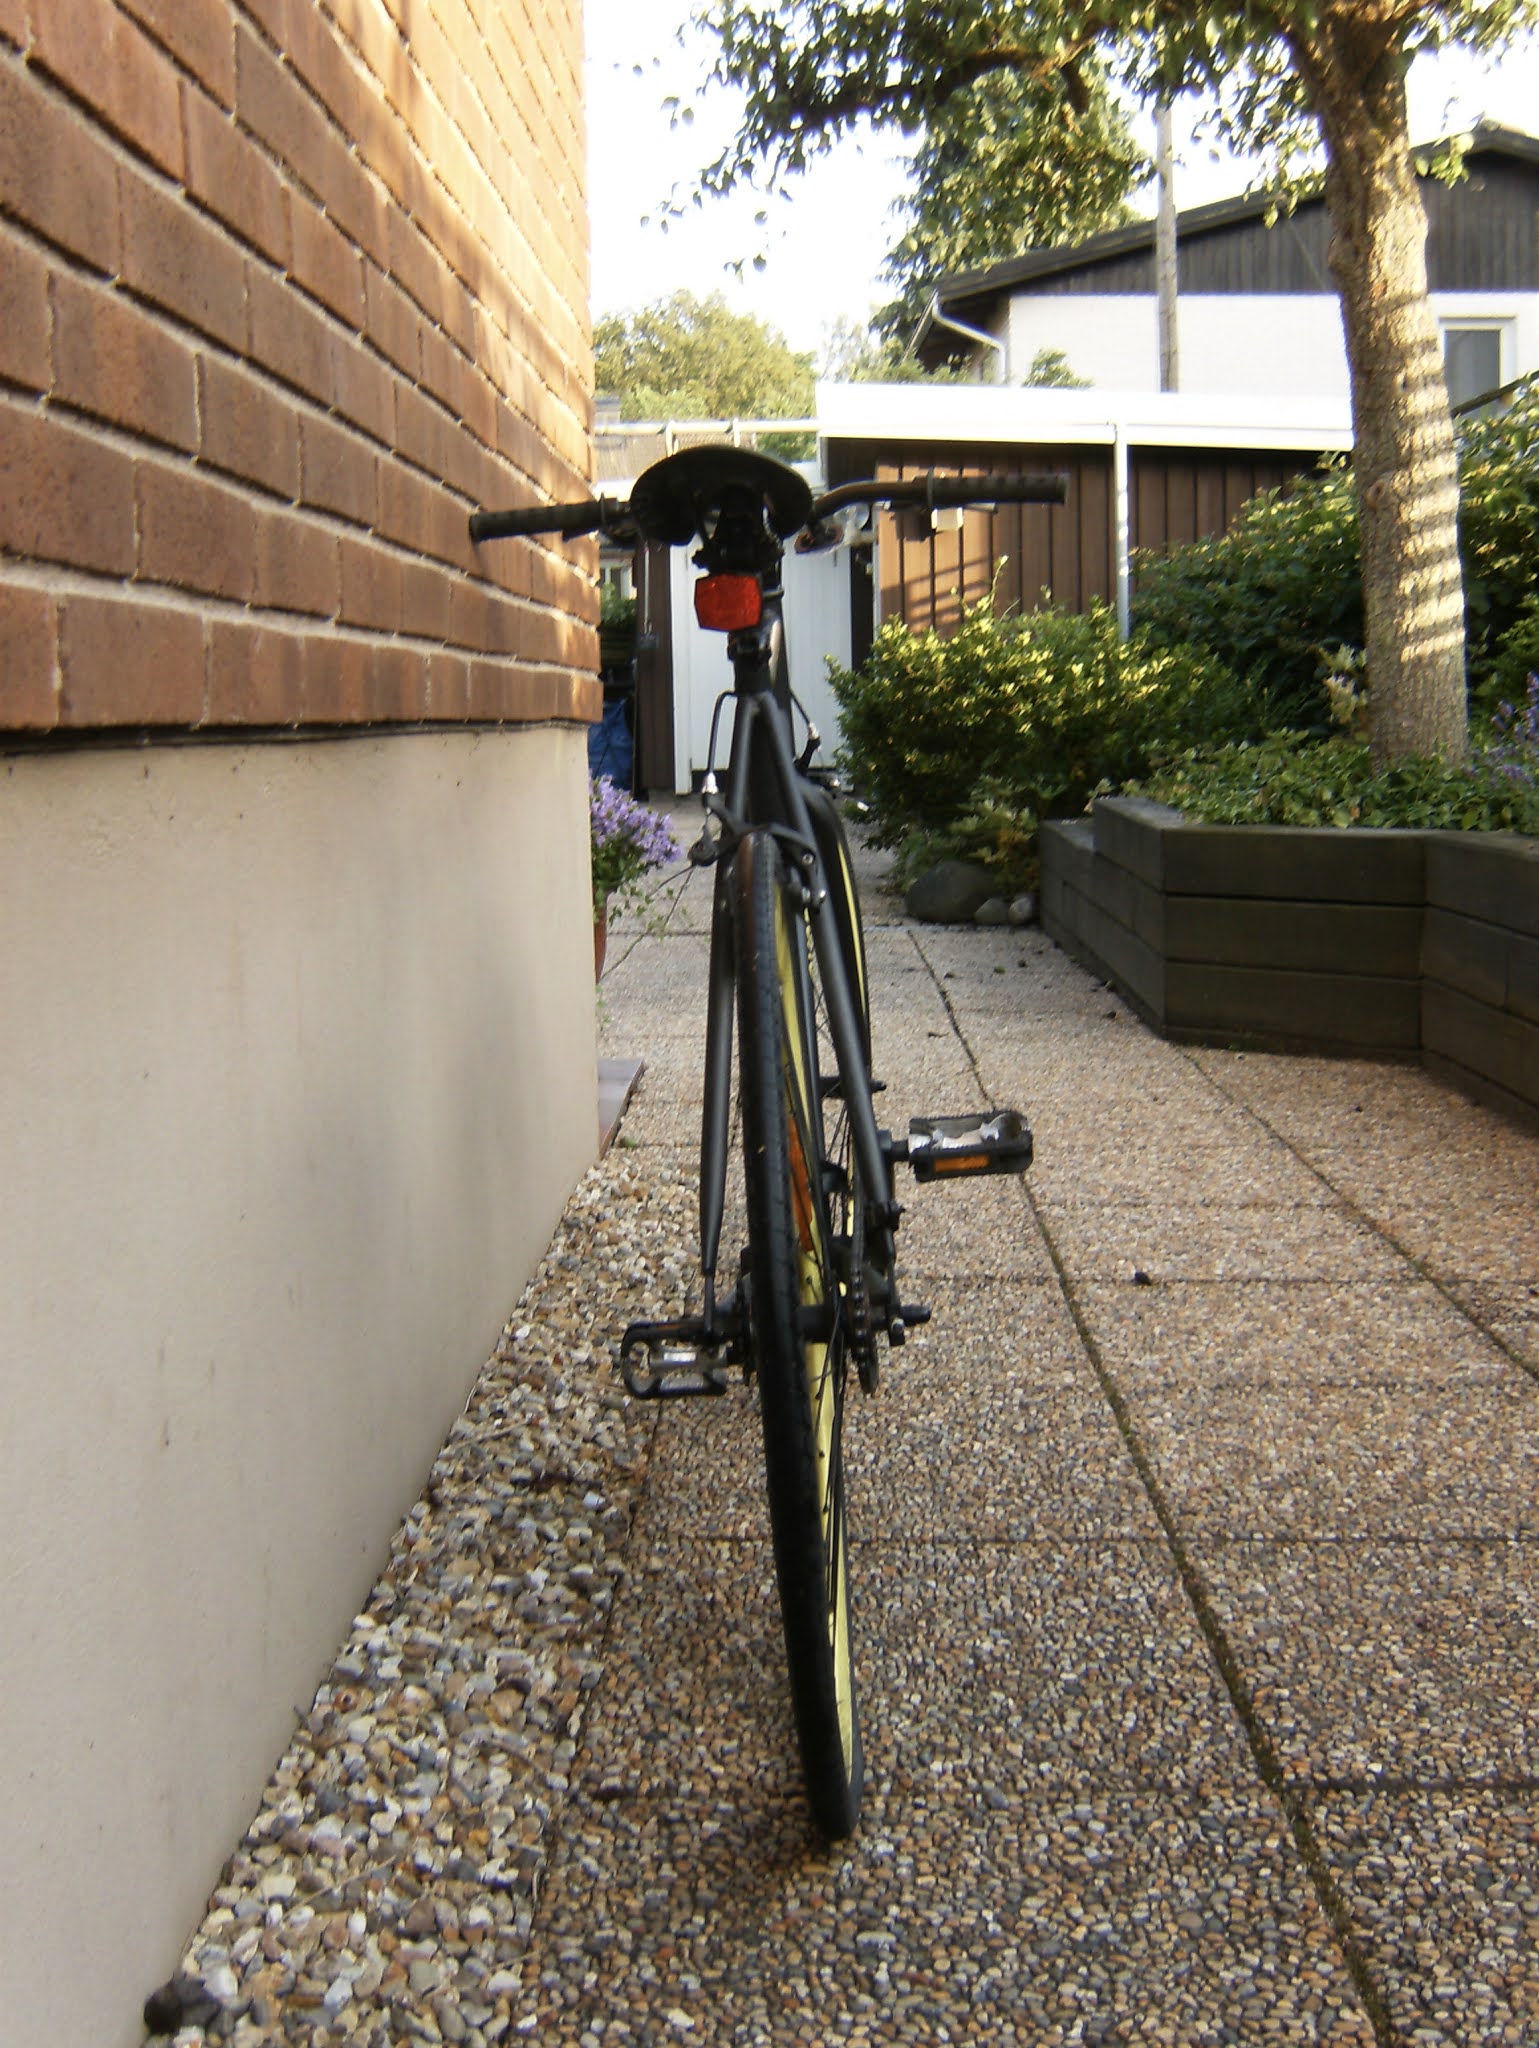
I said to him that I was interested in it, but somehow he did not want to part from it, and I didn't really have the funds to buy it. When we met this year he had gotten himself a new bike and said to me, that if I were interested in the old one we could strike a deal! I made him a low offer which he accepted, very quickly I might ad! And voila, I had now bought a bike that I was going to refurb, and here it is:


All over the bike these warnings are featured, I kept them for the fun of it!


Since July is an exceptionally good month for refurbishment I decided that this is the month when great things will be done! To start off I read a book by David Perry Bicycle Obsessions and browsed through a few old catalogues from various bicycle companies. After this "theory" of sorts it was time to get my hands dirty!

First of all I cleaned it with soap and water and I brought it up to my kitchen, where I was going to make the build. At this moment I studied the bike to see what worked and not, and I decided to discard the following:

saddle
both tyres and inner tubes
pedals
reflexes
handlebar

I carefully noted the measurements of the items that I needed to buy and the following day I went shopping for:

saddle
tyres and inner tubes
pedals
handlebar
handlebar tape
bar ends
mud guards, front and back
lamps, front and back
a lock

Unfortunately I got a cold that same day, so the build was halted for a week! It was NOT an opportune time to get sick when my small kitchen was occupied by a bicycle build! Well, I got better and could soon continue with my bike.

The build went smoothly but there were a few hick ups:

1) It was difficult to find a handlebar that fitted the original handlebar stem, I had to order it.
2) The mudguards presented the toughest challenge since they needed to be tweaked a bit to fit this particular bike. I do not know if it is visible on the picture but the fit for the back mudguard from the tyre is SNUG! This might be something that I will have to look at later. I dabbled with the thought to buy removable simpler mudguards, but I do not care for them...
3) On the "how to" video on Youtube the taping of the handlebar looks very easy, it was not! I might have to redo that one...!

There might be some small finishing touches to be done later, but yesterday I took it for a spin and it felt great! Here it is in all its glory!


For this short and sweet project I have learned:

A) To refurbish a bicycle I want to stay true to the original design but also make my own design decisions, if I were to make another build that is the route I will take.
B) I am not completely sure about this, but I think that it will be easier to refurbish a bike with standard measurements, perhaps then the tweaking will be kept to a minimum...
C) As I wrote above this was a short and sweet project, if the bike were to have gears and what not, it would have been a more complex build.

So, what kind of bike did I buy and refurb? It is called Every B:kez and it was launched in 2018, and is a single speed. I am not sure if it is available still, and the website everybikez.com can't be found by the server...! In the user manual they say that they have "chosen the best parts from the best factories" and in an interview one of the founders of the company behind the bike Sebastian Vocanac, says that their vision is to create a simpler, more fun and better future; and later that their goal with the company is to produce a product that all kinds of people like and finds joy in using.

In my refurbishment of the bike I would like to think that I heeded and met their vision and goal!

Take care!

lördag 10 april 2021

Friends Lego Advent calendar 2020

Around Christmas time I usually treat myself to a Star Wars Lego Advent calendar, unfortunately I missed that one last year, so I bought the Friends version instead. As a challenge and to sort of kick start my creativity I try to make new models out of the bricks in the calendar, this time around it was fun to see what was to become out of this set!

Here are the new models!

Take care!


Two devices of some kind where the one on the right seems to be a snow canon!


These were the last ones being made with few bricks left...


Vessels seems to be an interest of mine...!


My first landscapes!


I have no idea what this is, speakers corner?

fredag 9 april 2021

Folding a box for watercolours

For the visitor to this blog of mine there is no surprise that I have painted a few watercolours lately! Halfway through the project I wanted a box for the paintings and I decided to fold one! Naturally the box can also be used to store other goods or wares!

I will be quite precise to the measurements but that is only to make the idea come across, if you want to make a box in another size, you are welcome to do so; the technique will probably work as well for you as it did for me!

To make this box you will need: two pieces of paper, a ruler, scissor, pencil and possibly a calculator of some sort... You will NOT need scotch tape or glue!

Alright have you got everything? Great, let us get to work then, shall we?

For this box I used a 135 grams drawing paper in A3 format, due to the binding of the pad I had to cut away a small portion of the paper which gave it new measurments: 40,8 x 29,7 centimeters (cm). This is important due to the calculations later on!


First of all I needed to know the size of the bottom of the box. I piled my drawings (half of them) and measured the base of the pile and got the following numbers: 16,5 x 15,5 cm.

To place this "square" in the middle of the paper I subtracted 16,5 cm from the height and 15,5 cm from the width of the paper AND divided those numbers by 2.

The calculations:
40,8 - 16,5 = 24,3
24,3 / 2 = 12,1

29,7 - 15,5 = 14,2
14,2 / 2 = 7,1

With the ruler mark and draw lines across the paper:
12,1 cm from the top and bottom.
7,1 cm from either side.

Take your scissor and cut along the vertical lines to the horisontal lines from the top and bottom, the cut should be 12,1 cm long.

Your paper should now have a square in the middle and the top and bottom of the paper should have cuts where the middle piece should be a bit larger than the two on each side.

We will now turn our attention to this middle piece! Take your ruler, mark and draw a line 7,1 cm from the square on the top and bottom pieces.

By now you should notice that the marked line at 7,1 cm have the same length or height as the fields on the side of the square, this will be the height of the box, 7,1 cm!

At this line, you are now to make a fold.
There should also be folds along all of the sides of the square across the whole piece of paper.

If you have followed the instructions correctly your paper should now look like this! If it does not look like this then something have happened that should not have happened, if you followed my measurements that is!


Now the fun begins!

Fold the sides of the square so that the top "side pieces" goes inside of the "middle piece", like so.


Now take the middle piece and fold it over the two "side pieces", like so.


Repeat at the other side of the square!

Et voila! Your first part of the box is now ready!


If you would like to make a lid for your box you just have to use another paper and the same measurements!

And there it is in all its glory, the watercolours are now safe and sound!


By the way, this is not my first attempt at making package design, in a previous post I have made one for a CD or a DVD disc, you can read about it here:

Take care!

tisdag 2 mars 2021

Updated portfolio

I just updated my portfolio, it was many years since I did that, so it was about time! You are welcome to use the link:

http://pglidstromportfoliodemoreel.blogspot.com/2021/03/portfolio-update-2012-2020.html

Take care!

fredag 19 februari 2021

Watercolours 10

Perhaps I write this post for my own benefit as well as for you dear reader! Last weekend I finished my watercolour project, for this text I would like to take a minute and possibly share some of my insights. After painting the last one, I counted the paintings and to my astonishment came up with the figure of 204 pieces!

When I started with the paintings it had been years since I used my watercolours, I had drawn but not as much as I wanted to. I saw this project as an excellent excuse to be more creative and to do more drawing and painting.

From the get go, my drawings were a bit fast and perhaps not so accurate, and it did not bother me at all; since these paintings were for my own sake, and solely to get me to learn the names of the plants!

In march I did my first painting and during the summer at roughly half way through the project I started to notice that some drawings were better than others. At that point my only thought were to not mess it up when I added the paint! During the course of the project my painting skills increased as well as my drawing skills, that is from where they were when I started!

In the beginning when I mixed the paints I had pools of paint in my watercolour set because it took so long time to find the right colour! At the end there were no pools and hardly even puddles! My blending skills had also increased. Perhaps an important note here to make is that I had previously painted with acrylics and when you do that you get to be a master blender, especially if the painting takes more than one session to finish! But, that was many years ago!

Something that I learned was to always mix my greens, I have the colour green in my set, but in comparison to a leaf or a stem, those greens were always a bit off. Even when I mixed them with other colours it was hard to find the right value. So after a while I mixed my own greens and never bothered with the greens in the set!

By the way how much time did I spend drawing and painting, you ask? Since I did not log my hours I have to make an estimate here. On an average week I could do from about eight hours to possibly twelve hours, there were weeks when I could do more and weeks with less. The important note here to make is that I did not spend every awaken hour to the project, it really was a few hours here, and a few hours there.

So, is there something I can leave to you dear reader that you can take with you from this project? Even if it looks like it I don’t want to be here and toot my own horn…! I think that if it is a lesson here to be learned it is that if you want to be better at something, you really will be if you go and do it! I included the total number of paintings above to make the point that if I had not made those 200+ drawings and paintings, my skills set would not had increased at all!

So, if there is something that you would like to do or be better at, maybe you should get going and do it, for an hour here and an hour there often turns out to become more…!

Below I have put my first and my last paintings, I thought that it would be cool to share it with you, and also to sort of show the progress made.

Fun fact! I only started this project to learn their names, that I would get better at drawing and painting actually did not occur to me…!

Take care!


P.s This time around I dabbled with the UK spelling of watercolours!


Acer platanoides, the very first...!


Ginkgo biloba, the very last one!

tisdag 16 februari 2021

Watercolors 9

And finally we have come to the last installment of the watercolors project. As you might already have seen, it seems that I previously have misspelled watercolors somewhat, from now on I know better! So let us get on with it shall we? Here I will show you chosen images from the 15th and last batch of watercolors!

Take care!


Mahonia aquifolium, usually I have a flower and a leaf to show the characteristics of the plant, for some though that is not enough and I have included berries or cones when that is needed.


Prunus laurocerasus 'Otto Luyken'


Taxus x media 'Hillii'


Thuja occidentalis